
3D model
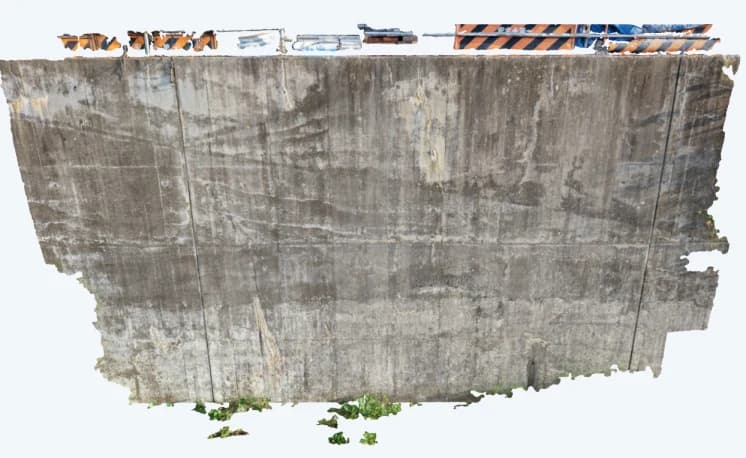
Generate 3D models of buildings and structures such as retaining walls and tunnel portals from photos, map infrared temperatures onto them and inspect them in 3D — with an illustrated look at triangulation.
A pile of photos becomes
a building you can spin around.
In this chapter you will learn to
- Build a 3D model of a building from photos
- Narrow the region to get finer detail
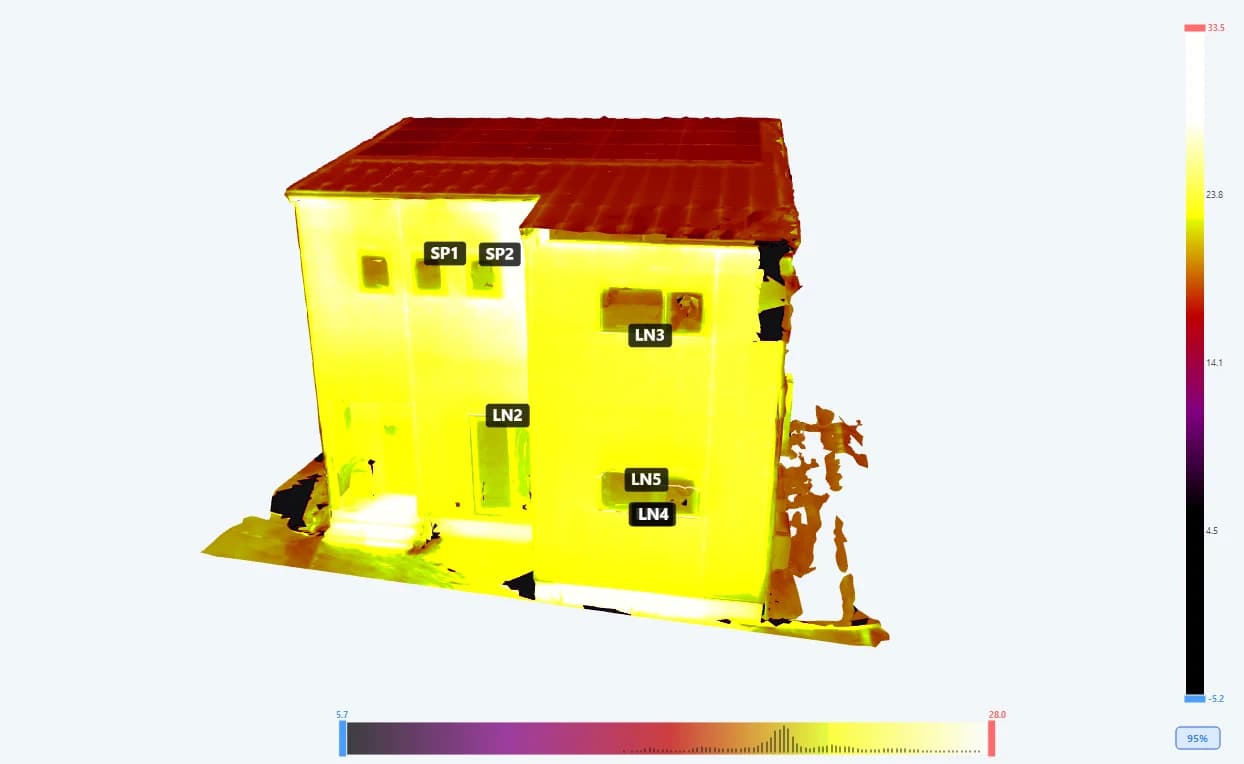
- Inspect a temperature 3D model
- Find local anomalies with Local variation
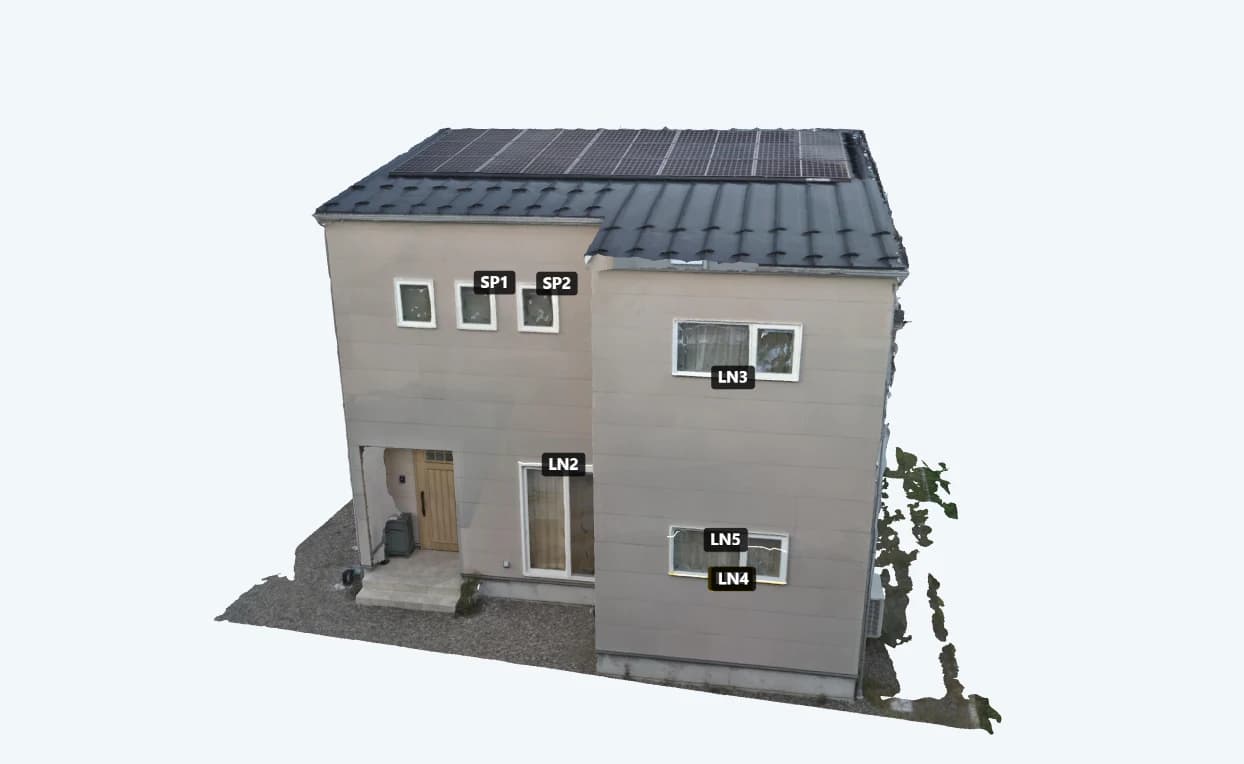
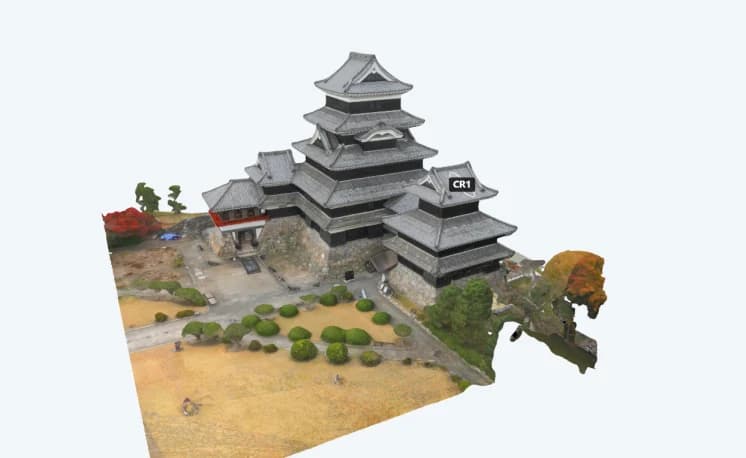
CRITIR can generate a 3D mesh of walls and structures from the image-linking result. On the generated 3D model you can review measurements, and by projecting infrared data onto it you can analyze it as a temperature 3D model.
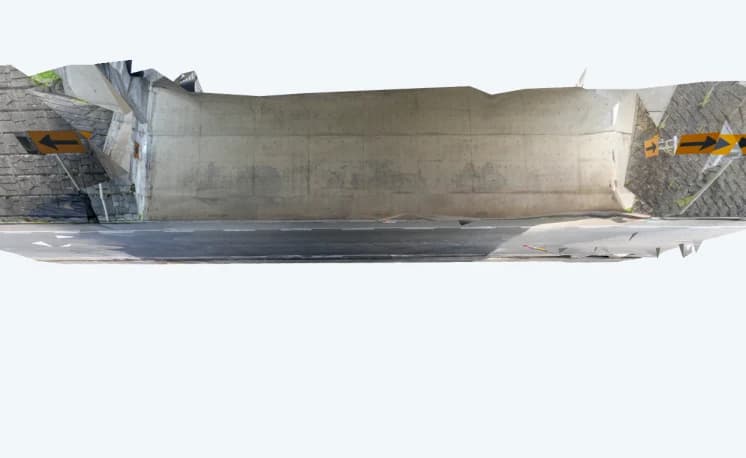
How photos turn into 3D
A single photo only tells you the direction in which a point lies. Add a second photo of the same point taken from somewhere else, and the place where the two directions cross is the point's position. It is the same idea as triangulation in surveying.
CRITIR's image linking finds feature points shared between photos and solves, all at once, for the position and orientation of every camera and the positions of a sparse set of points. Then, for each photo, it estimates depth pixel by pixel by comparing it with nearby photos, gathering a vast number of points.
Finally, those points are fused into a surface (the mesh), and the original photos are mapped onto it (the texture). The progress messages you see during generation — estimating depth for each photo, generating the texture — walk through exactly these steps.
Generating a 3D mesh
Launching the wizard
Launch the image linking, ortho, and 3D generation wizard from either of the following, then select 3D Model in the rail on the left side of the wizard.
- Process ▾ on the toolbar → Image Linking, Ortho, and 3D Generation
- 3D tab in the right side panel → Generate 3D button (shown when no 3D model has been generated yet)
A GPU is not required: if a GPU (NVIDIA, AMD, or Intel) is present it is used, and otherwise the CPU produces a result of the same quality. Only the processing time differs.
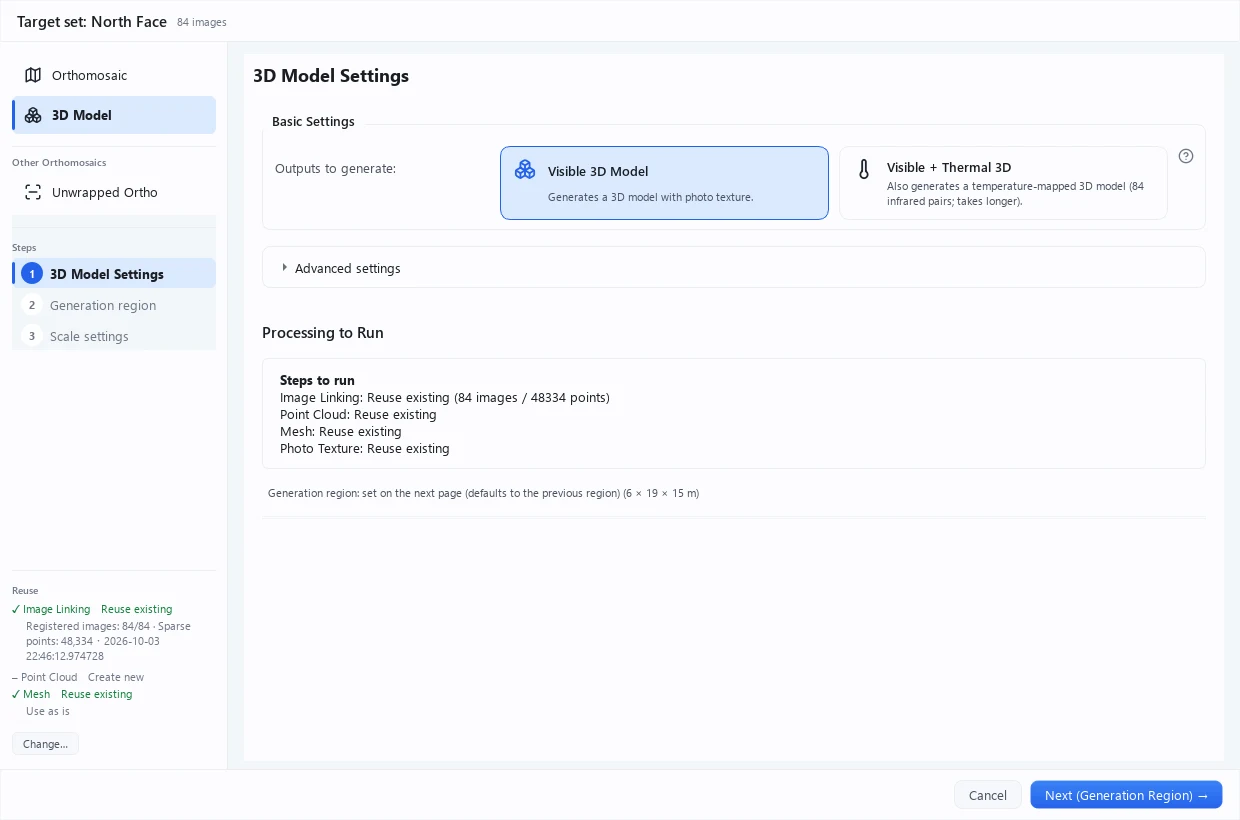
Wizard steps
The 3D model wizard follows the same structure as orthomosaic generation: choose the outputs on the 3D Model Settings page, finish image linking, review the generation region, optionally give real-world dimensions in Scale settings, then start generation.
| Page | Contents |
|---|---|
| 3D Model Settings | Outputs to generate and a summary of the processing that will run |
| Generation region | Narrow the subject with a box while looking at the sparse point cloud |
| Scale settings (optional) | Measure known dimensions to give the model real-world scale. If you enter nothing, the model is generated at the GPS-based scale (or without correction if there is no GPS). See Scale settings for details |
The button on the settings page reads Start Image Linking when SfM (image linking) will be computed, and Next (Generation Region) → when an existing image-linking result is reused. When image linking runs, the wizard minimizes itself after a few seconds and the main window shows a notification once it finishes. Returning via Review Generation Region on that notification brings you to the generation-region page.
Generation region
A 3D model is generated by dividing the whole space around the subject at a uniform resolution. When that space also contains wide open ground or distant scenery, the same amount of computation is spread over the empty space as well, leaving the subject itself coarse. Narrowing the region makes only the subject finer, at the same computational cost.
The initial region is the one used last time with the same image-linking result, or, if there is none, a region proposed automatically from the camera positions.
| Control | Description |
|---|---|
| Auto / Full / Previous | Re-pick the initial region. Full means no region (and clears a previous one) |
| Top / Front / Side / All | Change the viewpoint of the 3D view |
| Width / Height / Depth | Sliders and numeric fields per axis (meters). You can also drag the face handles in the 3D view |
| Rotation | Rotates the box horizontally so it fits targets that stand at an angle. Reset removes the rotation. You can also drag the rotation handle in the 3D view |
The right-hand panel shows the size of the current region, how many sparse points remain inside it, and how many images observe it. Use these numbers to narrow the region as much as possible without cutting off the subject.
Push the empty lot out of the box
Keep the generation region as tight as you can without cutting off the subject. Just moving the surrounding parking lot and distant scenery outside the box makes the building sharper at the same computational cost.
The generation-region page is shown even when an existing 3D model is set to be reused. If you change the region while reusing, the 3D model is rebuilt so that the new region takes effect. If the sparse point cloud cannot be displayed, you can still generate without specifying a region.
3D Model Settings page
| Setting | Description |
|---|---|
| Outputs to generate | Two cards: Visible 3D Model / Visible + Thermal 3D (see below) |
Processing to Run, at the bottom of the page, summarizes for each step from image linking to the photo texture whether the existing result will be reused or newly generated.
Open Advanced settings to change the following. The defaults are fine in most cases.
| Setting | Description |
|---|---|
| Joint handling (Thermal 3D Texture) | Blend multiple views (smooth joints) / One image per face (prioritize crisp edges). Enabled only when temperature 3D is selected |
Reusing an existing 3D model
The Reuse section of the rail on the left side of the wizard shows whether the image-linking result and the 3D model will be reused (Reuse existing / Regenerate / Create new). Use Change… to switch the reuse settings.
If a 3D model has already been generated from the same image-linking result, turn on the option in the reuse settings that uses the existing 3D model without rebuilding it.
Only 3D models built with the current method can be reused. 3D models created with the methods of earlier versions cannot be reused and are rebuilt.
Output to generate (temperature 3D)
Outputs to generate, at the top of the 3D Model Settings page, lets you choose whether to build a temperature 3D model from two cards.
| Option | Description |
|---|---|
| Visible 3D Model (default) | Generates only the 3D model with photo texture |
| Visible + Thermal 3D | Also generates a temperature 3D model with infrared temperatures projected onto the mesh (takes longer) |
Only when Visible + Thermal 3D is selected does Joint handling under Advanced settings become active. Blend multiple views gives smooth joints; One image per face keeps outlines sharper at the cost of visible joints.
Temperature 3D requires visible/infrared image pairs and alignment calibration. Visible + Thermal 3D cannot be selected for a set with no pairs. The temperature projection runs after texture generation.
Starting generation
Click Start Generation ▶ on the final Scale settings page. Processing takes time depending on the number of images and your PC's specifications. While it runs, the progress display in the main window shows the current step, such as "Estimating depth for each photo..." or "Generating texture...".
Once generation starts, the required free disk space is estimated and checked before anything is written. If there is not enough, processing stops and the estimated requirement and current free space are shown (for example, "about 20 GB needed / C: 12 GB free / 476 GB total"). Free up space and try again.
3D viewer
Browse the generated 3D model from the 3D tab in the right side panel. Use the toolbar at the top to control the display.

1 Display 2 Colormap 3 Temperature type 4 Measurement labels 5 Camera frames 6 Clip 7 Level 8 Fit view 9 Map 10 Create Ortho
| Tool | Description |
|---|---|
| Display | Switch between Visible 3D / Infrared 3D / Point Cloud (shown when two or more displays are available). Infrared 3D is available only when a temperature 3D model has been generated |
| Temperature type | Switch between Corrected temperature / Measured temperature / Local variation (only while Infrared 3D is shown; see below) |
| Colormap | Choose the temperature palette from 10 options (only while Infrared 3D is shown) |
| Measurement labels | Name + Measurement / Name Only / Hidden, label size, cm / cm² display |
| Camera Frame | Show the capture position frame of each photo (off by default) |
| Clip | Set a cross-section for each axis — width / height / depth — using independent lower and upper handles (scale shown in metres) |
| Level | Level the scene: switch between Auto Level (default) and Original Orientation, or set the up direction manually |
| Fit View | Adjust the viewpoint so the entire scene fits |
| Map | Shows the 3D model on the map, placed from the capture positions (GPS). Not shown for sets that cannot be placed on the map |
| Create Ortho | Specify a face and extent on this 3D model to create an orthoimage. The region dialog opens directly, without the wizard (default output settings and the saved scale are used). Right end of the toolbar; only when a 3D model exists |
Level estimates the ground direction automatically from the gimbal angle at capture time and from the camera poses, then stands the model upright (Auto Level is the default). If it cannot be estimated, or the result still looks tilted, adjust it with the forward/backward and left/right tilt sliders under Set the up direction manually.
The 3D tab shows the newest 3D model of the set. It may come from a different image linking result than the orthomosaic (check the Displayed: 3D model badge in the products list).
While Map is on, Clip, Level, display switching, and Create Ortho are unavailable. Create Ortho is also unavailable while Point Cloud is shown.
Point cloud display
Selecting Point Cloud under Display shows the point cloud the 3D model was built from.
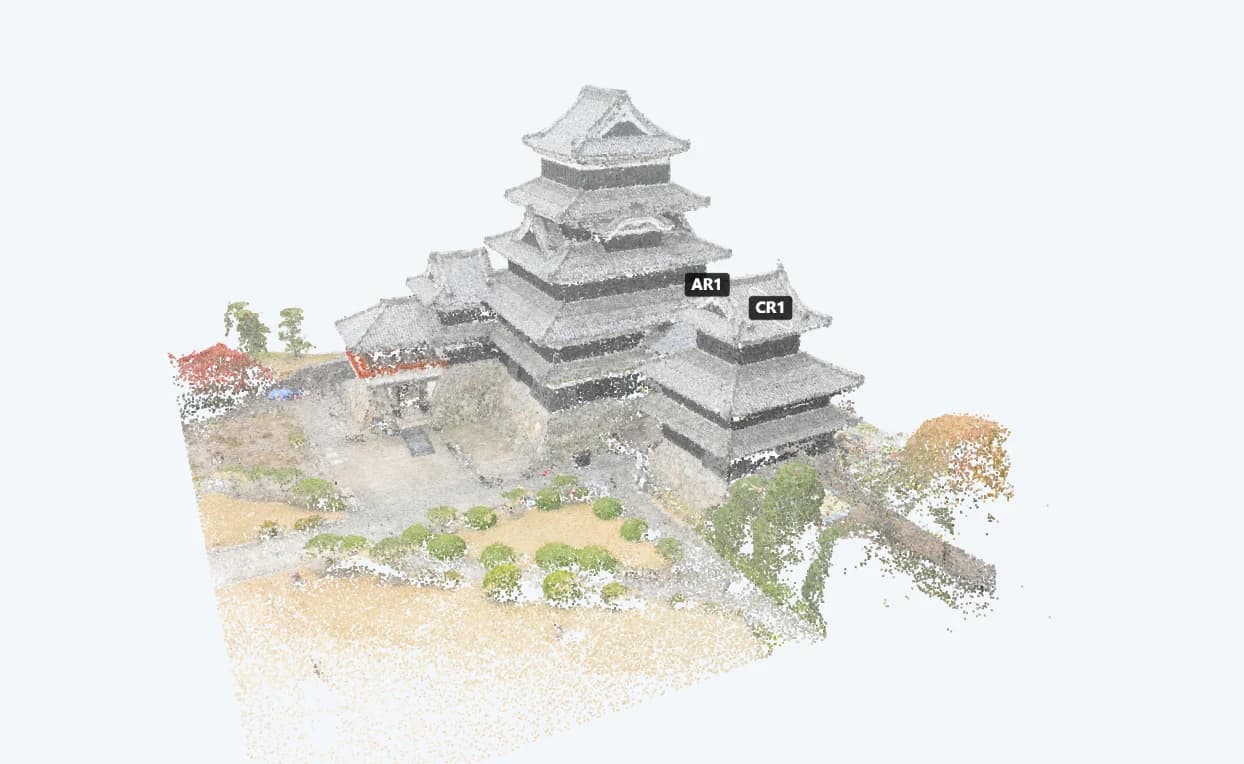
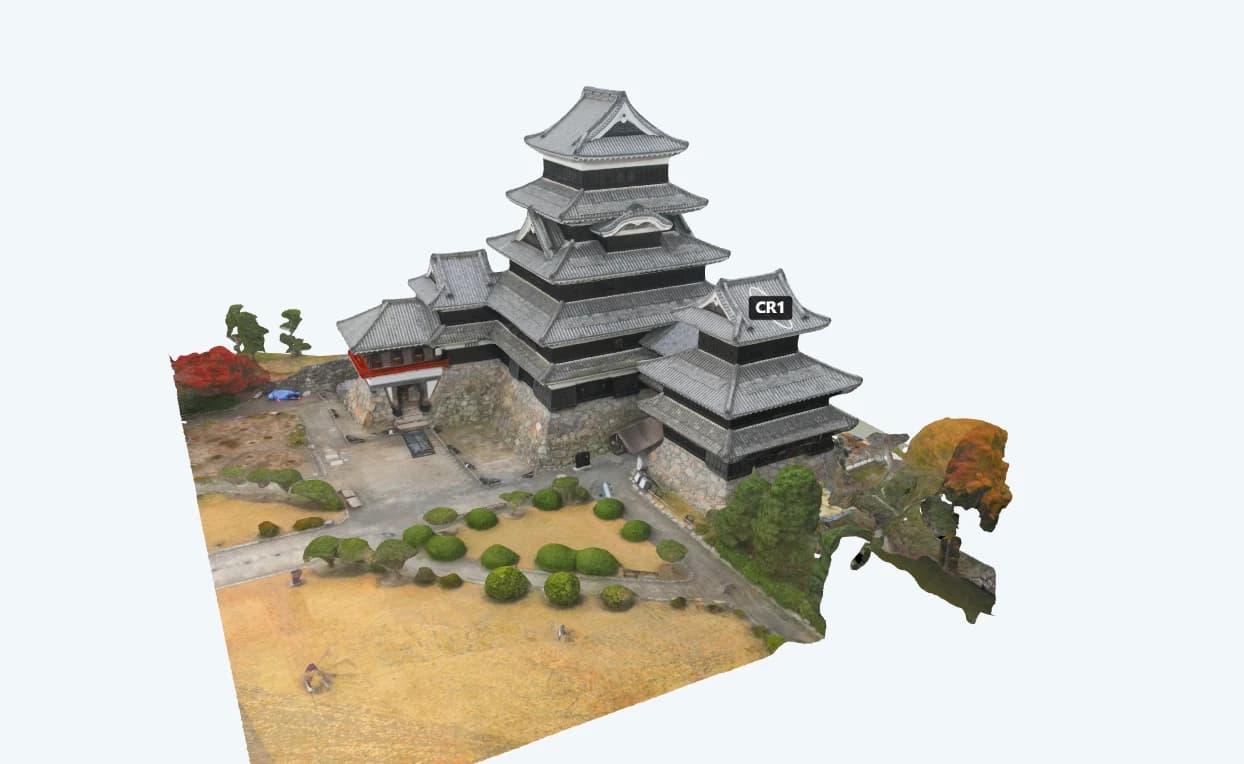
It is view only; faces cannot be selected. Even for a set without a 3D model yet, you can check its point cloud in the 3D tab as long as an image-linking result exists.
Measurement projection
Measurements created on images are automatically projected onto the surface of the 3D model as well, letting you see where each measurement sits in 3D space.
Right-click the surface of the 3D model and choose Find Same Location to find the source images that show that spot (Same-location search, PRO plan).
Interactive analysis of the temperature 3D model
While the temperature 3D model (infrared 3D) is displayed, you can analyze temperatures interactively just like in the regular viewer.
- Temperature type — switch between Corrected temperature / Measured temperature / Local variation
- Color map — choose from 10 palettes
- Temperature bar (bottom) — adjust the display range
- Color bar (right) — set alarm thresholds
The temperature type selector on the toolbar chooses which temperature is shown on the infrared 3D model.
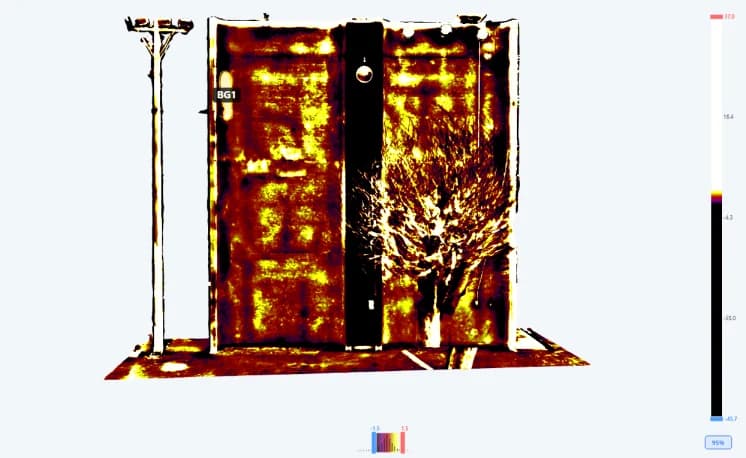
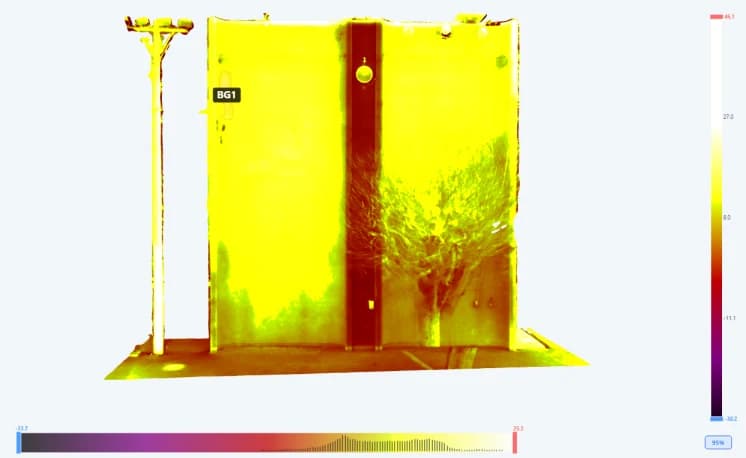
| Temperature type | Description |
|---|---|
| Corrected temperature (default) | Temperature with each photo's offset (e.g. drift during the flight) estimated from the overlaps and removed. Best for viewing the overall temperature distribution. It can differ by a few °C from a single photo's reading |
| Measured temperature | Temperature taken from the photos as measured. Borders between photos taken at different times may appear as color steps |
| Local variation | Difference between the corrected temperature and the average of surrounding surfaces facing the same way (about 0.5 m). Best for finding local temperature variations such as delamination |
Hunting for delamination? Use Local variation
Use Corrected temperature for the overall picture, and Local variation when you are looking for local anomalies. Differences between whole faces — say, the sunny side versus the shady side — drop away, and only spots that differ from their surroundings stand out.
The temperature 3D model does not bake colors in; it is colored on the fly at display time. You can therefore freely change the display range, alarm thresholds, and color map afterwards. For temperature 3D models generated with earlier versions, the temperature type selector may not be shown.
Using the model in reports and the HTML viewer
- Report — choose 3D as the image source for detail sheets to include a capture location figure that shows each photo's position as an overview of the 3D model. See Report creation for details.
- HTML viewer export — when a 3D model has been generated, it is automatically bundled in the HTML viewer export and can be viewed in the browser via the 3D display button.
Same-location search
Click one point on an image, ortho or 3D model to list every photo that shows that spot. Includes an illustrated look at how candidates are chosen and ranked.
Unwrapped ortho (cylinder / truncated cone)
Turn cylindrical and truncated-cone structures such as chimneys, tanks and silos into a single unwrapped image from a 3D model — with an illustrated look at how cylinders and cones unroll.